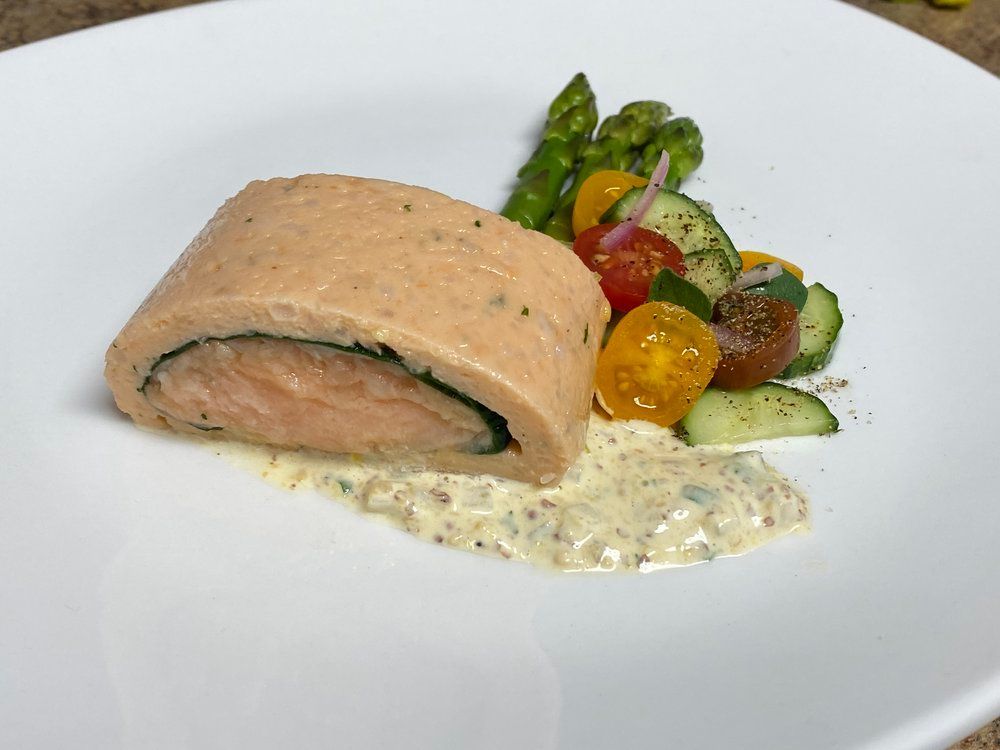
A white plate topped with a piece of salmon and vegetables
While practicing for the CMC exam, I remember reading about a candidate who developed delicious flavor for her seafood terrine by simmering fresh herbs in heavy cream. I practiced this technique repeatedly & learned this technique for when I prepare mousseline forcemeat.
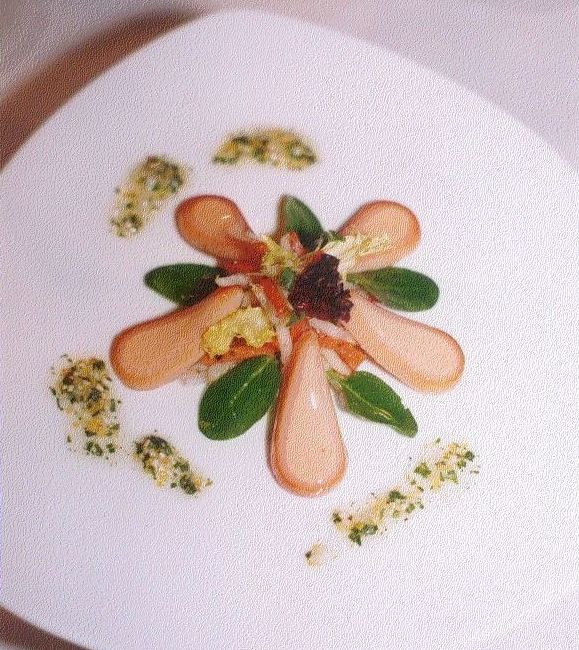
A close up of a plate of food with a flower design on it

Salmon Fillet en Croute/ Salmon Terrine

This is an advanced recipe I practiced repeatedly with CMC Stephen Giunta during our years of preparation for the CMC exam. I love that it replicates the shape of a salmon fillet. I’ve made similar terrines with chicken, lobster, scallops etc. for many dinners and events -always a crowd pleaser. And I always simmer fresh herbs in the heavy cream for the delicious, delicate flavor!


This photo is a smoked trout fillet wrapped around the same salmon mousseline. This plate won a gold metal in Erfurt, Germany for the Culinary Olympics. I was a member of the CIA Olympic team.

Prep Time: 6o min

Cooking Time: 30 min 


Ingredients

Salmon Mousseline Forcemeat


1 lb.          Salmon, cleaned

3 ea          Shallots, peeled & minced

2 Tbsp    Butter, unsalted

2 slice     White bread, no crusts, cubed

8 tbsp.    Heavy cream

1 Tbsp     Fresh herbs (dill, tarragon, parsley, basil)

1 tbsp      Kosher salt

¼ tsp     Cayenne pepper

1 tsp        Paprika

¼ tsp     Nutmeg

1 ea          Egg yolk

1 1/2 ea   Egg whites


To prepare the Forcemeat
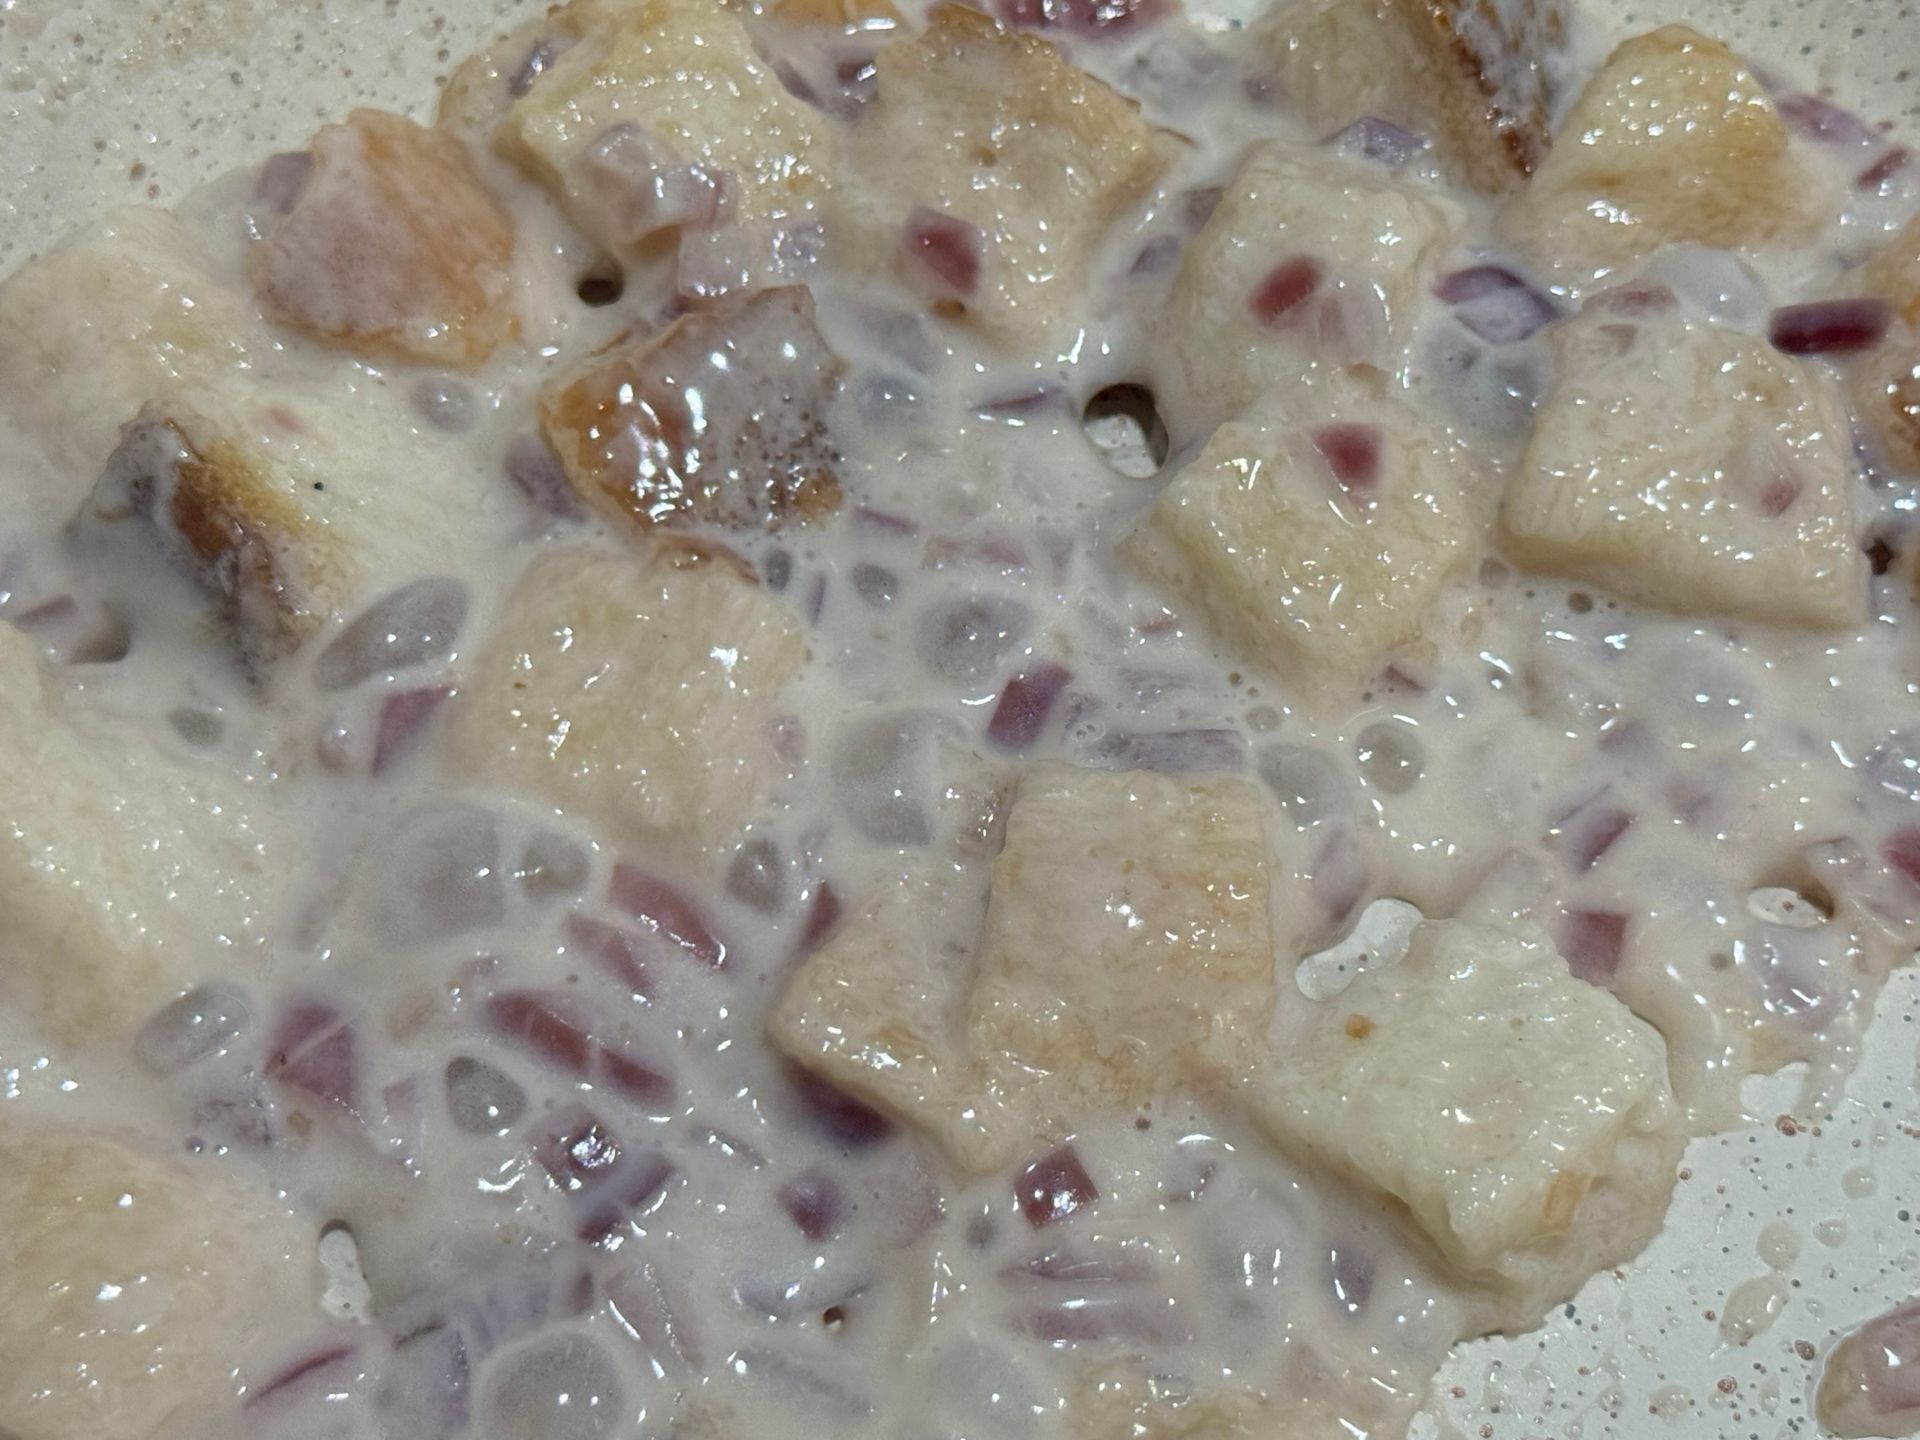
A close up of a white sauce with bread and onions

Step 1           Making the mousseline forcemeat

Sweat the shallots and diced bread in butter, add cream and fresh herbs and simmer until it is ‘roux-like’ in texture. Cool completely and grind with the salmon, place into a cold bowl and add the seasonings. Fold in a small amount of egg at a time so the eggs incorporate evently (over ice). Add cream slowly to incorporate, then poach a quenelle to evaluate for seasoning and flavor. Seafood is sometimes different in texture so the cream usually fluctuates by an ounce or so…
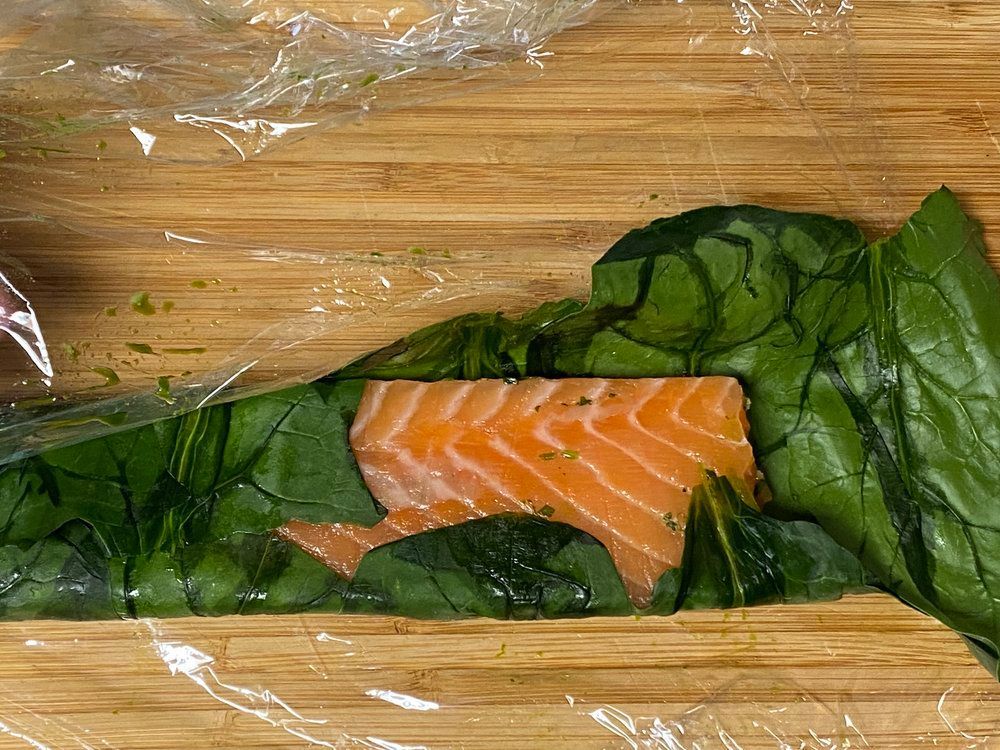

A piece of salmon wrapped in spinach leaves on a wooden cutting board.

Step 2           Wrapping the salmon fillet

I carefully lay rinsed, dried spinach leaves overlapping between two sheets of plastic wrap; roll firmly until the spinach becomes one, flat sheet. You may blanch the spinach if you like but it’s not necessary.

Carefully wrap the spinach around the salmon fillet. I like to get the salmon fillet very cold and I always season the salmon with salt and pepper, the salt helps to make the flesh a little firmer.


A piece of food is wrapped in plastic wrap on a table.

Step 3            Rolling the mousseline forcemeat

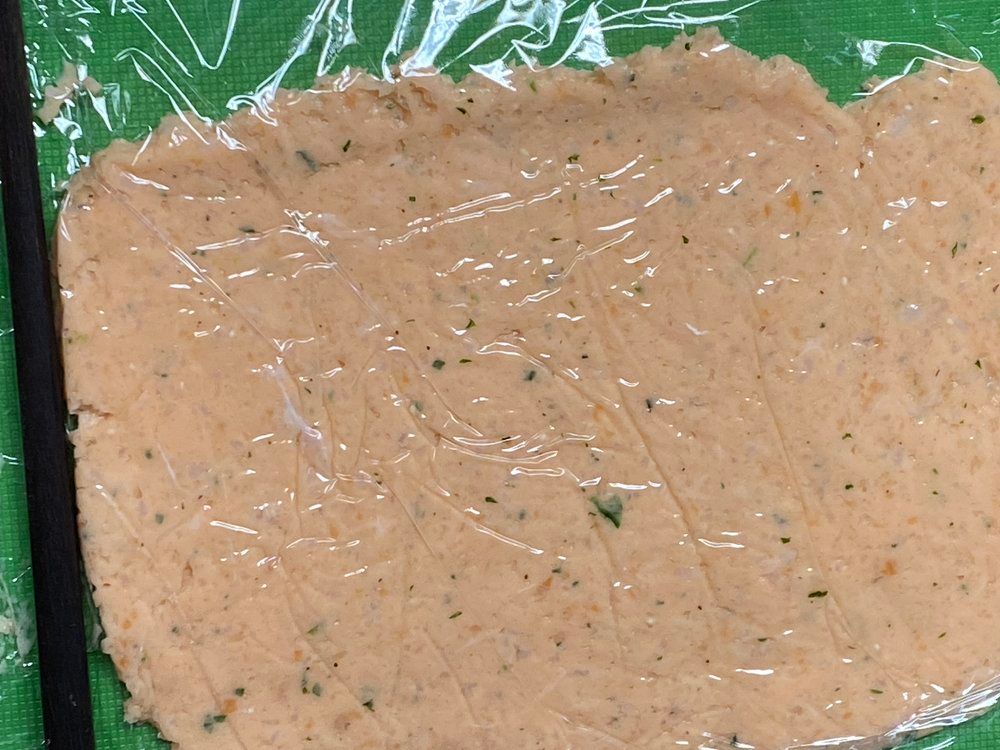
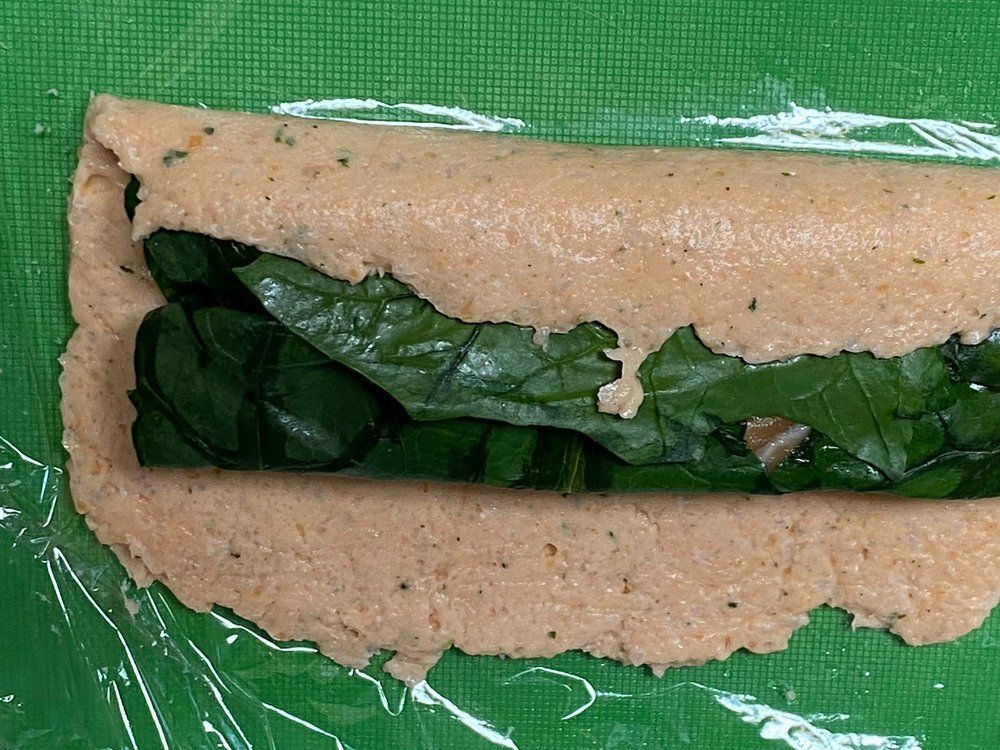
Spread the salmon forcemeat onto a sheet of plastic wrap (about 1/8th inch thick), cover with a second sheet of plastic wrap. I actually place chop sticks (one on the left side and one on the right side of the wrapped salmon forcemeat) as a guide to roll over the forcemeat until it is evenly flat. Then I unwrap the top sheets of plastic and lay the spinach wrapped salmon fillet gently onto the forcemeat.

A close up of a sandwich wrapped in plastic wrap on a green surface.

Step 4            Assembly and cooking

Using a palette knife, gently spread the forcemeat so it completely covers the spinach wrapped salmon fillet. Wrap the fillet in plastic and seal on both ends with string. I place the wrapped salmon terrine onto a sheet of acrylic with the side the skin was on, down so the natural shape of the salmon fillet remains.

It’s fine to poach on top of the stove or in the oven (in a water bath) at 250° F until the internal final temperature reaches 145° F.

I find the terrine slices better the next day. Enjoy! 


A white plate topped with a piece of salmon and vegetables

Slicing and presenting

The salmon terrine can be sliced thinly and overlapped or in a thicker slice which can stand up. Since this salmon terrine is assembled to replicate the actual shape of salmon fillet, I chose to serve one, thicker slice.

I like an emulsion style sauce made with pasteurized egg yolks, mustard, vinegar and oil. This sauce has diced pickles, lemon zest, fresh dill and pepper.

Salmon is delicate and pairs well with asparagus, cucumbers and tomatoes, dressed simply with lemon juice and salad oil.

By Tom Griffiths • October 28, 2026
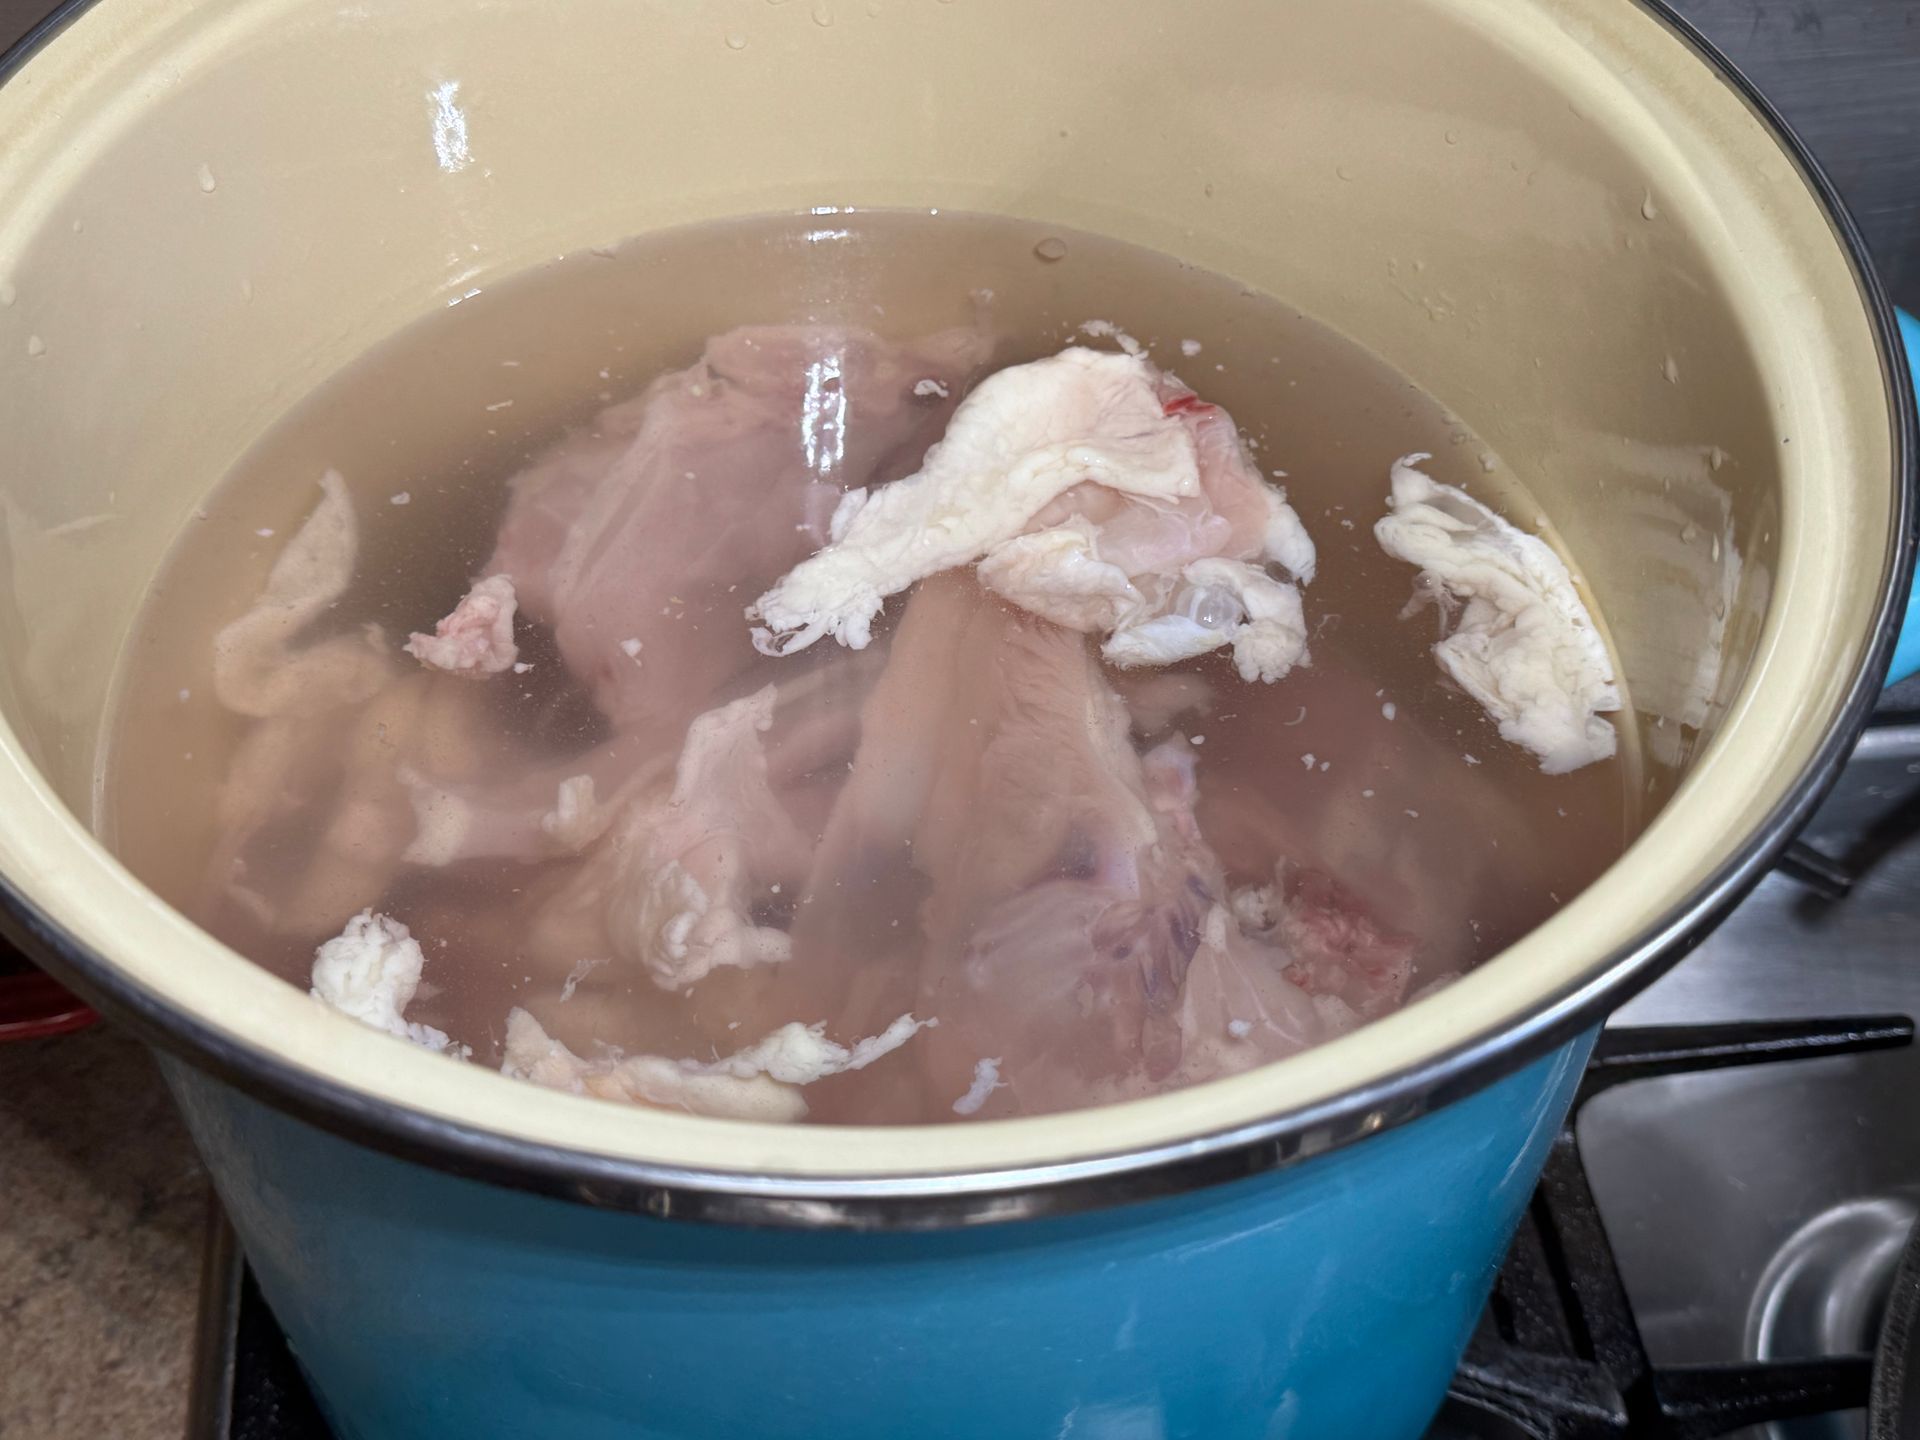
Chef Tom's Cooking Class Minute-Week 13 What the Heck Is Bone Broth? What’s your take on bone broth? Is it a new name for an old culinary tradition, or do you prepare yours differently? It's soup season! I use stock as the foundation for most of my soups. I’m clear on what a stock is, but what exactly is bone broth? I’m not totally sure where the culinary definition ends and the marketing begins. Broths seem to be healthy for us; they can provide protein, gelatin, collagen, electrolytes and amino acids, depending on the ingredients and how they’re prepared. The nutritional value varies, but they can help with hydration and protein intake. I’ve traveled throughout Asia & Europe to learn about stocks, broths and soups-I didn't find much information on bone broths. I even visited Chef Marco Canora, bone broth expert to discuss the recipes & techniques he uses to prepare his delicious Brodo bone broths at his restaurant Hearth in NYC. I think of bone broth as a traditional broth, similar to French petite marmite, Italian brodo, or the rich broths used as the foundation for Japanese ramen. One thing I know for sure: bone broth is not simply a collection of leftover meat and vegetable scraps you’ve saved in the freezer and boiled together when you feel like it! Chef Tom’s Tips: What’s the Difference? Stock: Traditionally prepared with bones, aromatics, seasonings & water. Broth: Prepared with meaty bones, aromatics, seasonings & water. Cooking time depends on the bones and the type of stock you’re making. Fish stock, or fumet, needs only about 30–40 minutes. Chicken stock generally simmers for 3–4 hours. White beef stock may take 5–6 hours. A few important points: I prefer to keep stock at a gentle simmer rather than a rolling boil. Some chefs bring the stock to a boil, strain and rinse the bones, and then start again with fresh water. I prefer not to use this method because I feel we may lose some flavor in the process. Carefully skim fat and impurities from the surface as the stock simmers. This helps produce a cleaner, clearer stock. Remember, stocks are recipes, too. Use consistent measurements so you can standardize your results and reproduce the same quality every time. Generally very little salt is added since stocks are used for a variety of cooking recipes. I also like to experiment with ingredients that add flavor and acidity, such as tomatoes and leeks. Mushrooms, ginger, lemongrass, saffron, star anise and Parmesan cheese rinds can all add another dimension to a broth. Each ingredient brings something different to the pot, so consider the flavor you want in the finished product.  Check out my new Soup e-cookbook, 'From the Pot to the Table' only $9.95! Order your copy here: https://www.globalcuisineconsulting.com/.../from-the-pot...
By Tom Griffiths • October 28, 2026
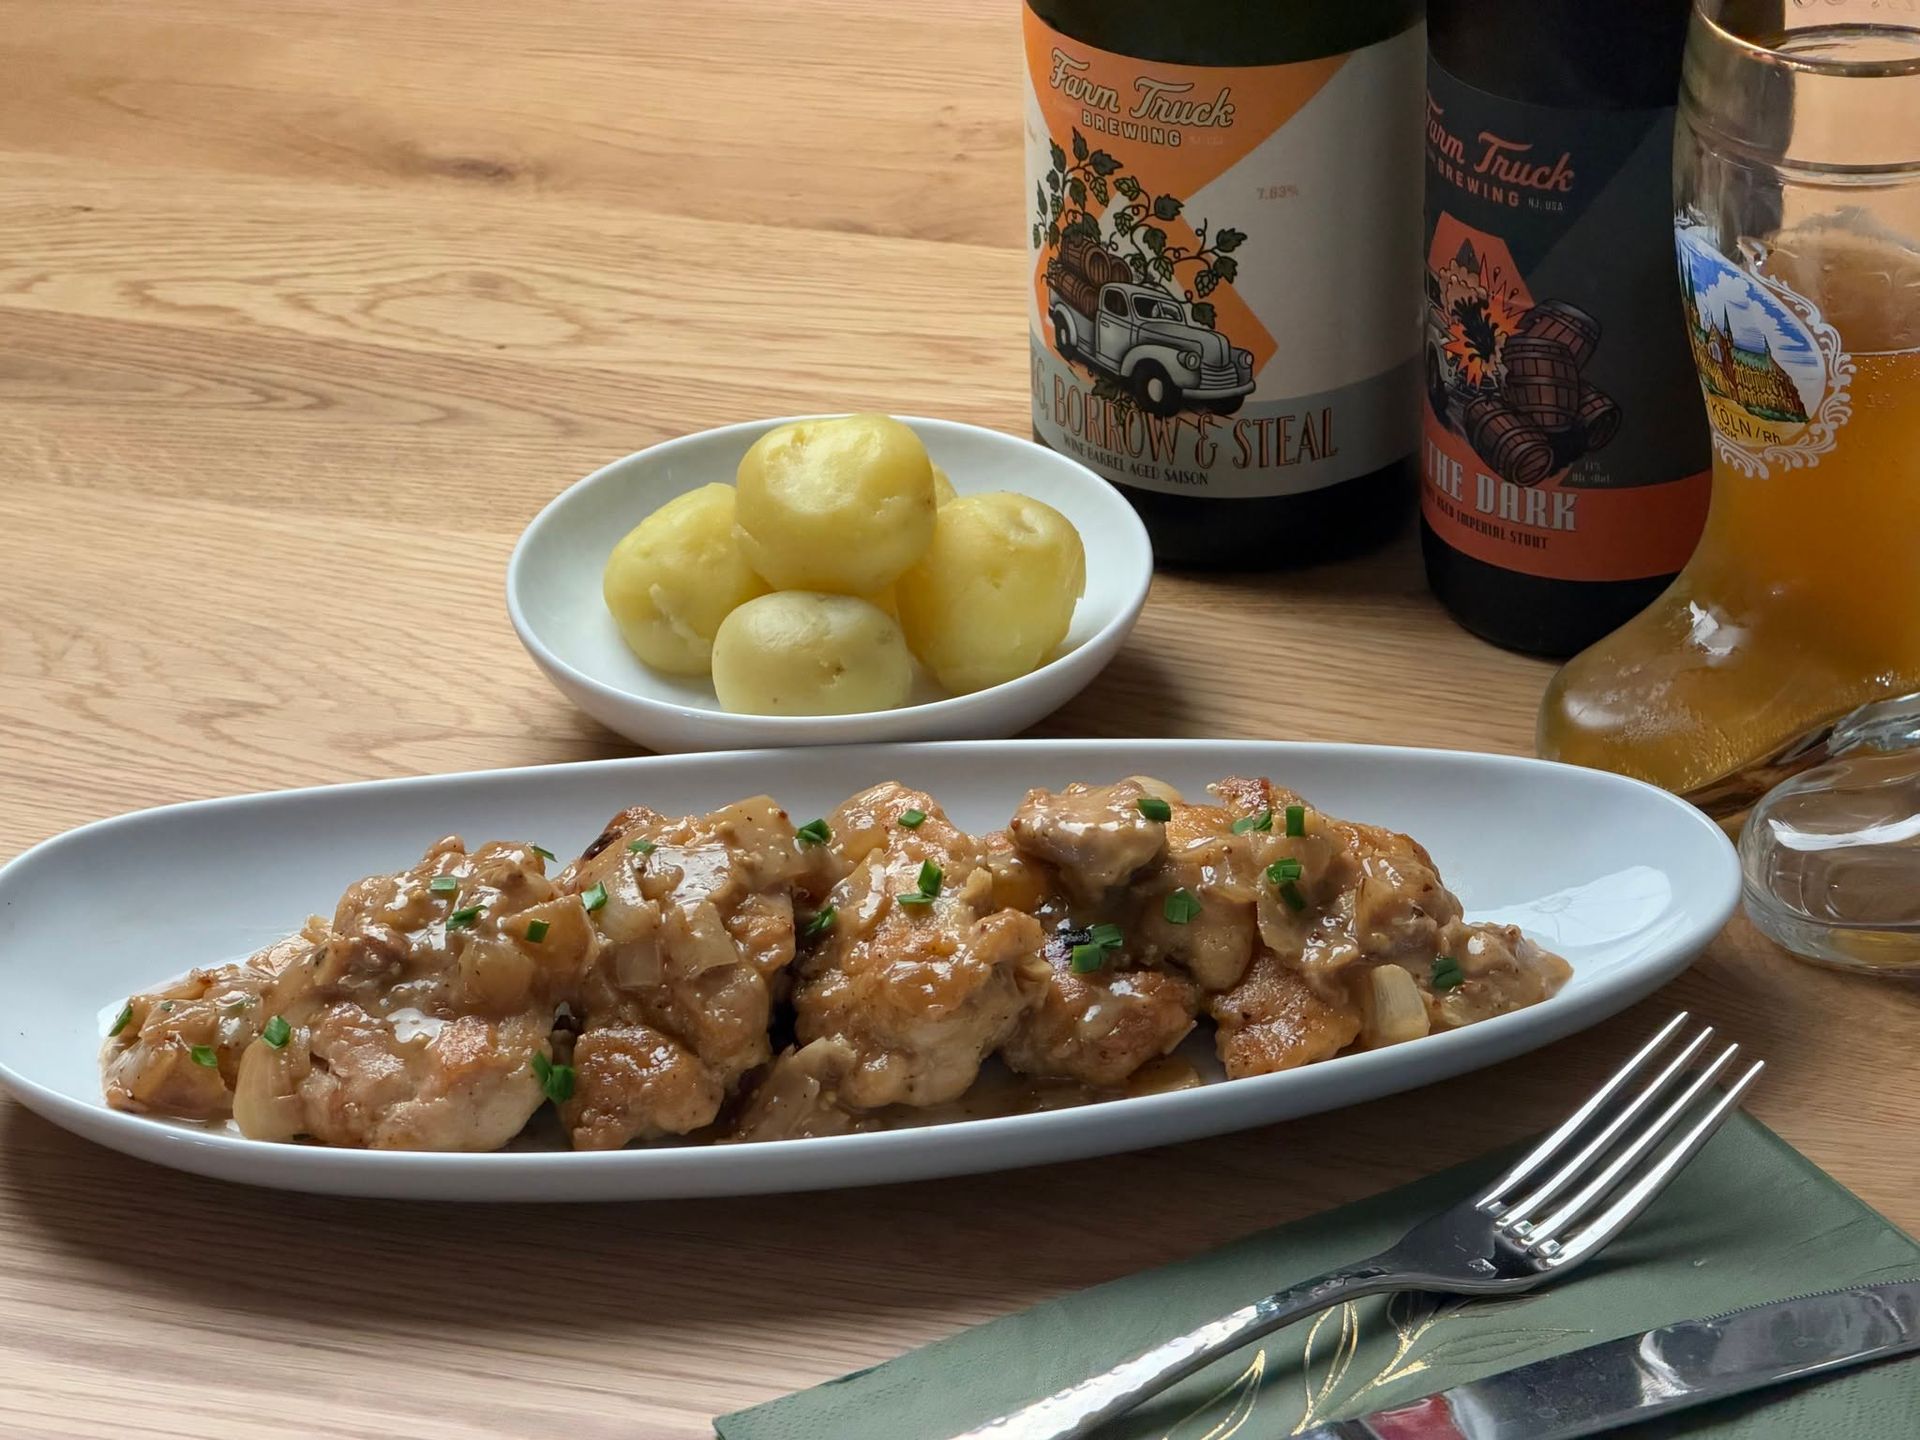
Chef Tom’s Cooking Class Minute – 𝐖𝐞𝐞𝐤 12 𝐌𝐨𝐢𝐬𝐭-𝐇𝐞𝐚𝐭 𝐂𝐨𝐨𝐤𝐢𝐧𝐠: 𝐁𝐞𝐞𝐫 𝐚𝐧𝐝 𝐚 𝐆𝐨𝐨𝐝 𝐁𝐫𝐚𝐢𝐬𝐞 I like beer! And of course, beer is good for more than drinking! It adds a wonderful depth of flavor to soups, stews and braised meats. The trick is choosing the right beer for the dish. A light lager, a malty brown ale and a dark stout each bring something different to the dish. And no, you don't need to use your most expensive bottle to make a good stew! I was reminiscing about International Cuisine class at the Culinary Institute of America. Chef Bruno Ehlmer was my instructor. I still remember the delicious foods we made in class; goulash soup, coulibiac, paella and carbonnade à la flamande, the traditional Flemish beef & onion stew made with dark beer. These were my favorites. There are several local breweries in town, so I recently stopped by to pick up a Belgian-style brown beer for my beer-braised chicken stew with onions. I use local, seasonal ingredients whenever I can, & this seemed like a good excuse to visit a brewery and bring a little Belgian inspiration into my kitchen. I had a fantastic Octoberfest in my research that day… hahaha 𝐀 𝐅𝐞𝐰 𝐓𝐢𝐩𝐬 𝐟𝐨𝐫 𝐚 𝐩𝐫𝐨𝐩𝐞𝐫 𝐁𝐫𝐚𝐢𝐬𝐞 𝐋𝐨𝐰 𝐚𝐧𝐝 𝐬𝐥𝐨𝐰 cook it slowly in a flavorful, fairly thick gravy. In my experience, cooking at too high a temperature or in a thin liquid leaves the meat stringy instead of tender & succulent. 𝐁𝐮𝐢𝐥𝐝 𝐭𝐡𝐞 𝐟𝐥𝐚𝐯𝐨𝐫 𝐟𝐢𝐫𝐬𝐭 dredge the seasoned meat in sifted flour & brown it in clarified butter with sliced onions. This dish is flavored with mustard, vinegar, a little brown sugar & thickened with bread. 𝐋𝐞𝐭 𝐭𝐡𝐞 𝐨𝐯𝐞𝐧 𝐝𝐨 𝐭𝐡𝐞 𝐰𝐨𝐫𝐤 braise or stew in a covered pot in the oven. I like Le Creuset pots & pans. The heat is more even, and there is less chance of scorching the bottom of the pan. Uncover the pan for the final 30 minutes so the sauce can reduce and form a delicious glaze over the meat. 𝐂𝐡𝐨𝐨𝐬𝐞 𝐲𝐨𝐮𝐫 𝐜𝐡𝐢𝐜𝐤𝐞𝐧. I like Bell & Evans chicken thighs for this method. I often leave the skin on for flavor and brown it well before braising. I leave the bones in, but boneless thighs are perfectly fine. You can even cut them into bite-sized pieces for easier serving. The skin can be left on the plate or eaten, depending on your preference. Serve the stew with buttered noodles or boiled potatoes. Both are excellent for soaking up the gravy. One last tip: Don't assume that any beer will give you the same result. Think about how the bitterness, maltiness or roasted flavors will work with the meat & sauce. What beer do you like to cook with?
By Tom Griffiths • October 22, 2026
In my opinion, a great broth begins with a properly prepared stock. Homemade stock is one of the fundamentals I encourage every cook to learn. It is quite simple to prepare but takes some time, but much of that time is hands-off, and the results are worth the effort. I understand that there are plenty of stock 'products' on the market-bases, bouillon cubes, shelf stable boxes etc... these are simply not good. My approach is straightforward: start with good ingredients and give them the time they need. Fish stock requires only about 30–40 minutes, while chicken stock generally takes three to four hours. Beef stocks can take considerably longer, depending on the bones and the result you want. I prefer a gentle simmer rather than a rolling boil. It helps keep the stock clear, and careful skimming and proper straining make a difference in the finished product. There is plenty of room to experiment, too. Mushrooms, ginger, lemongrass, herbs, spices and Parmesan rinds can add their own character to a broth.
By Tom Griffiths • October 9, 2026
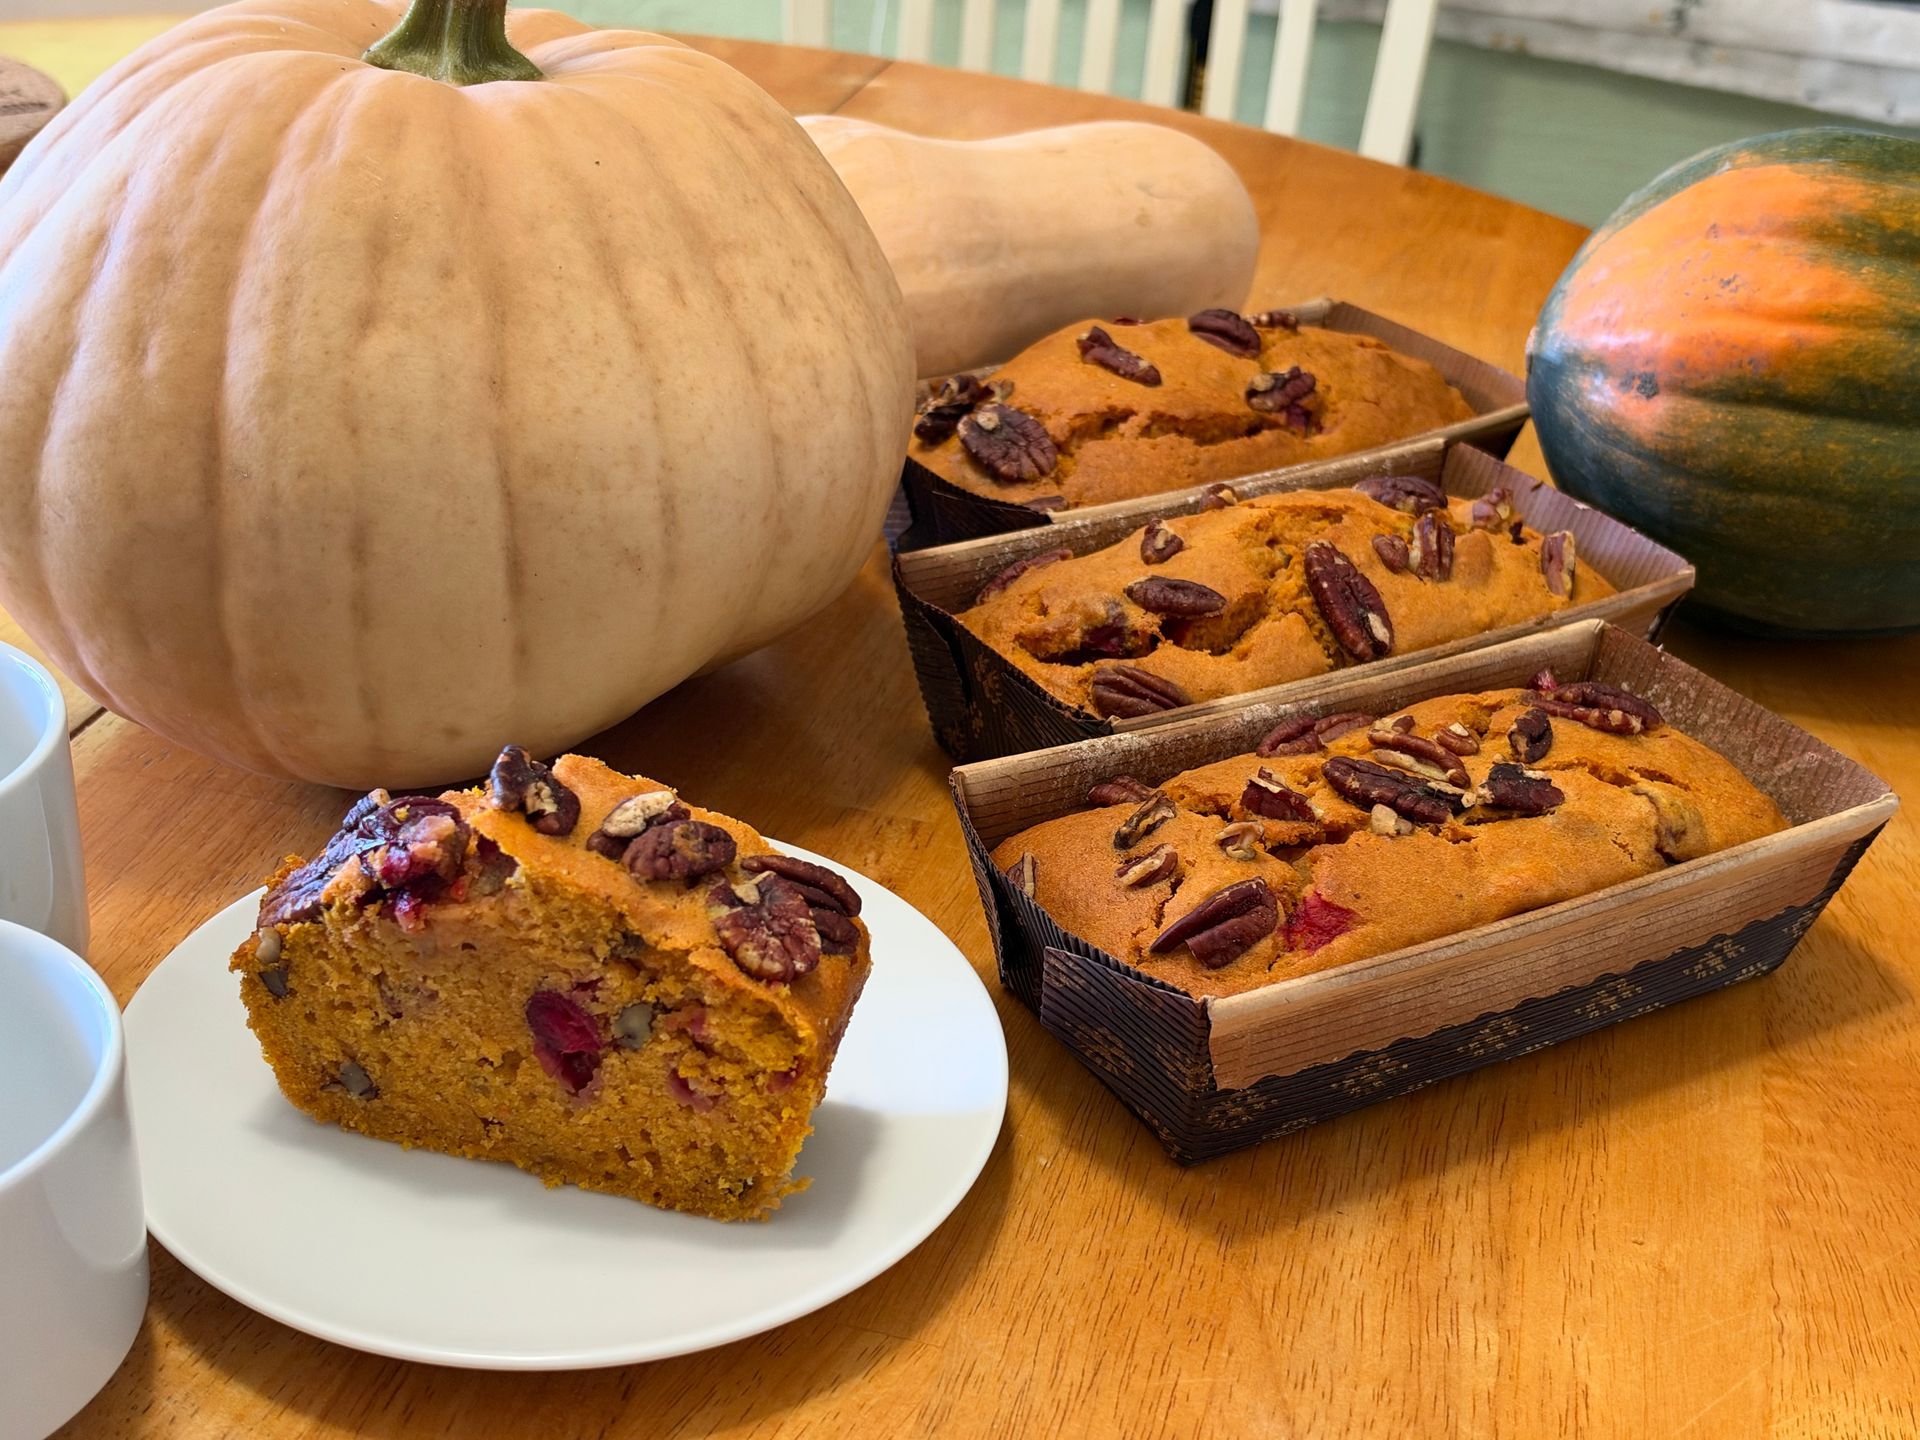
Chef Tom’s Cooking Class Minute — Week 11 The Garden Is Telling Me It’s Fall
By Tom Griffiths • October 1, 2026
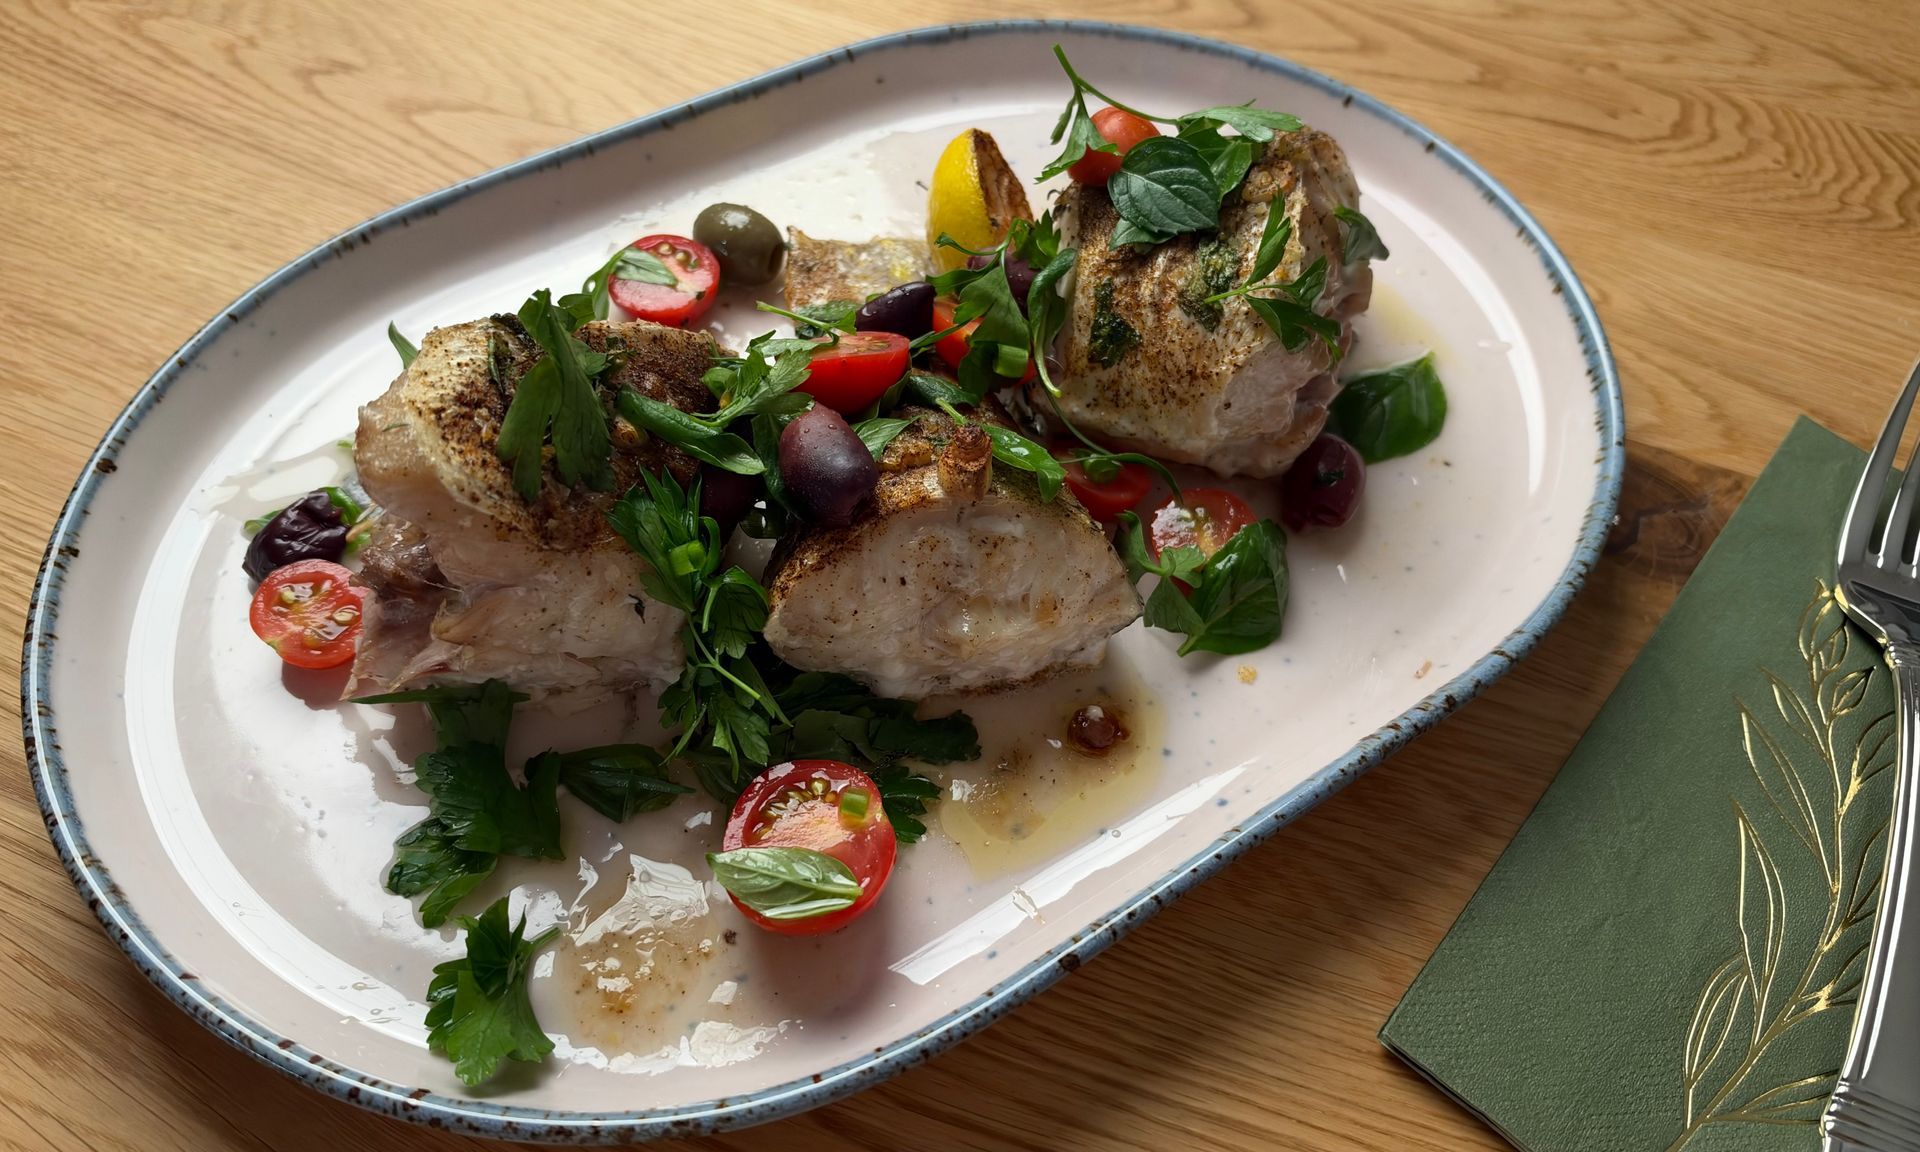
Chef Tom’s Cooking Class Minute — Week 10 Roasting Fish Let the Fish Taste Like Fish
By Tom Griffiths • October 1, 2026
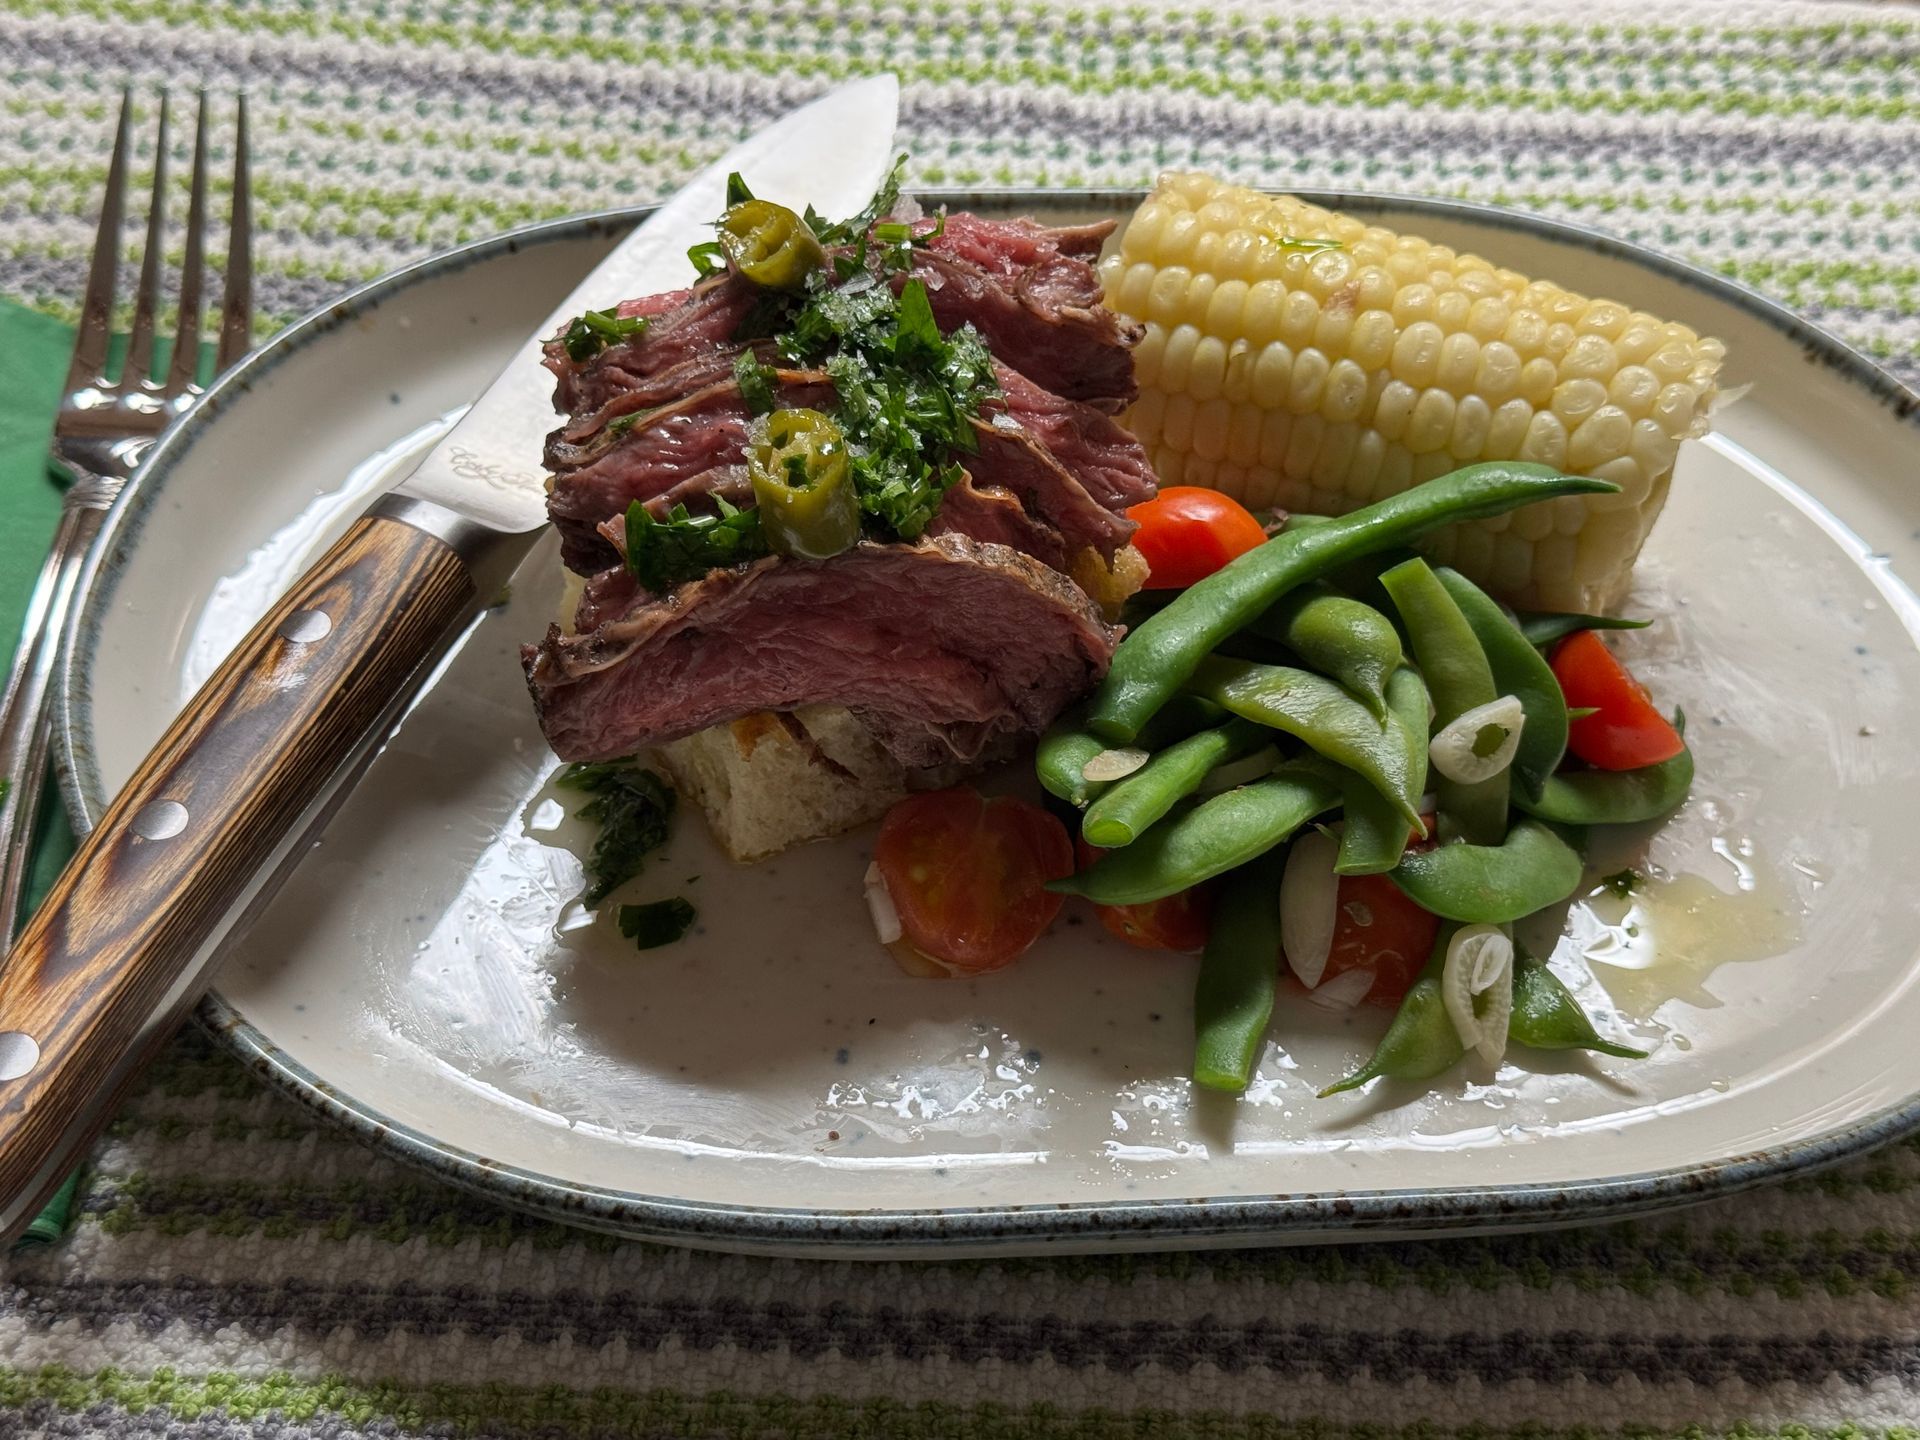
Chef Tom's Cooking Class Minute: Week 9 Late Summer Grilling: Great Steak Doesn’t Have to be a Ribeye
By Tom Griffiths • October 1, 2026
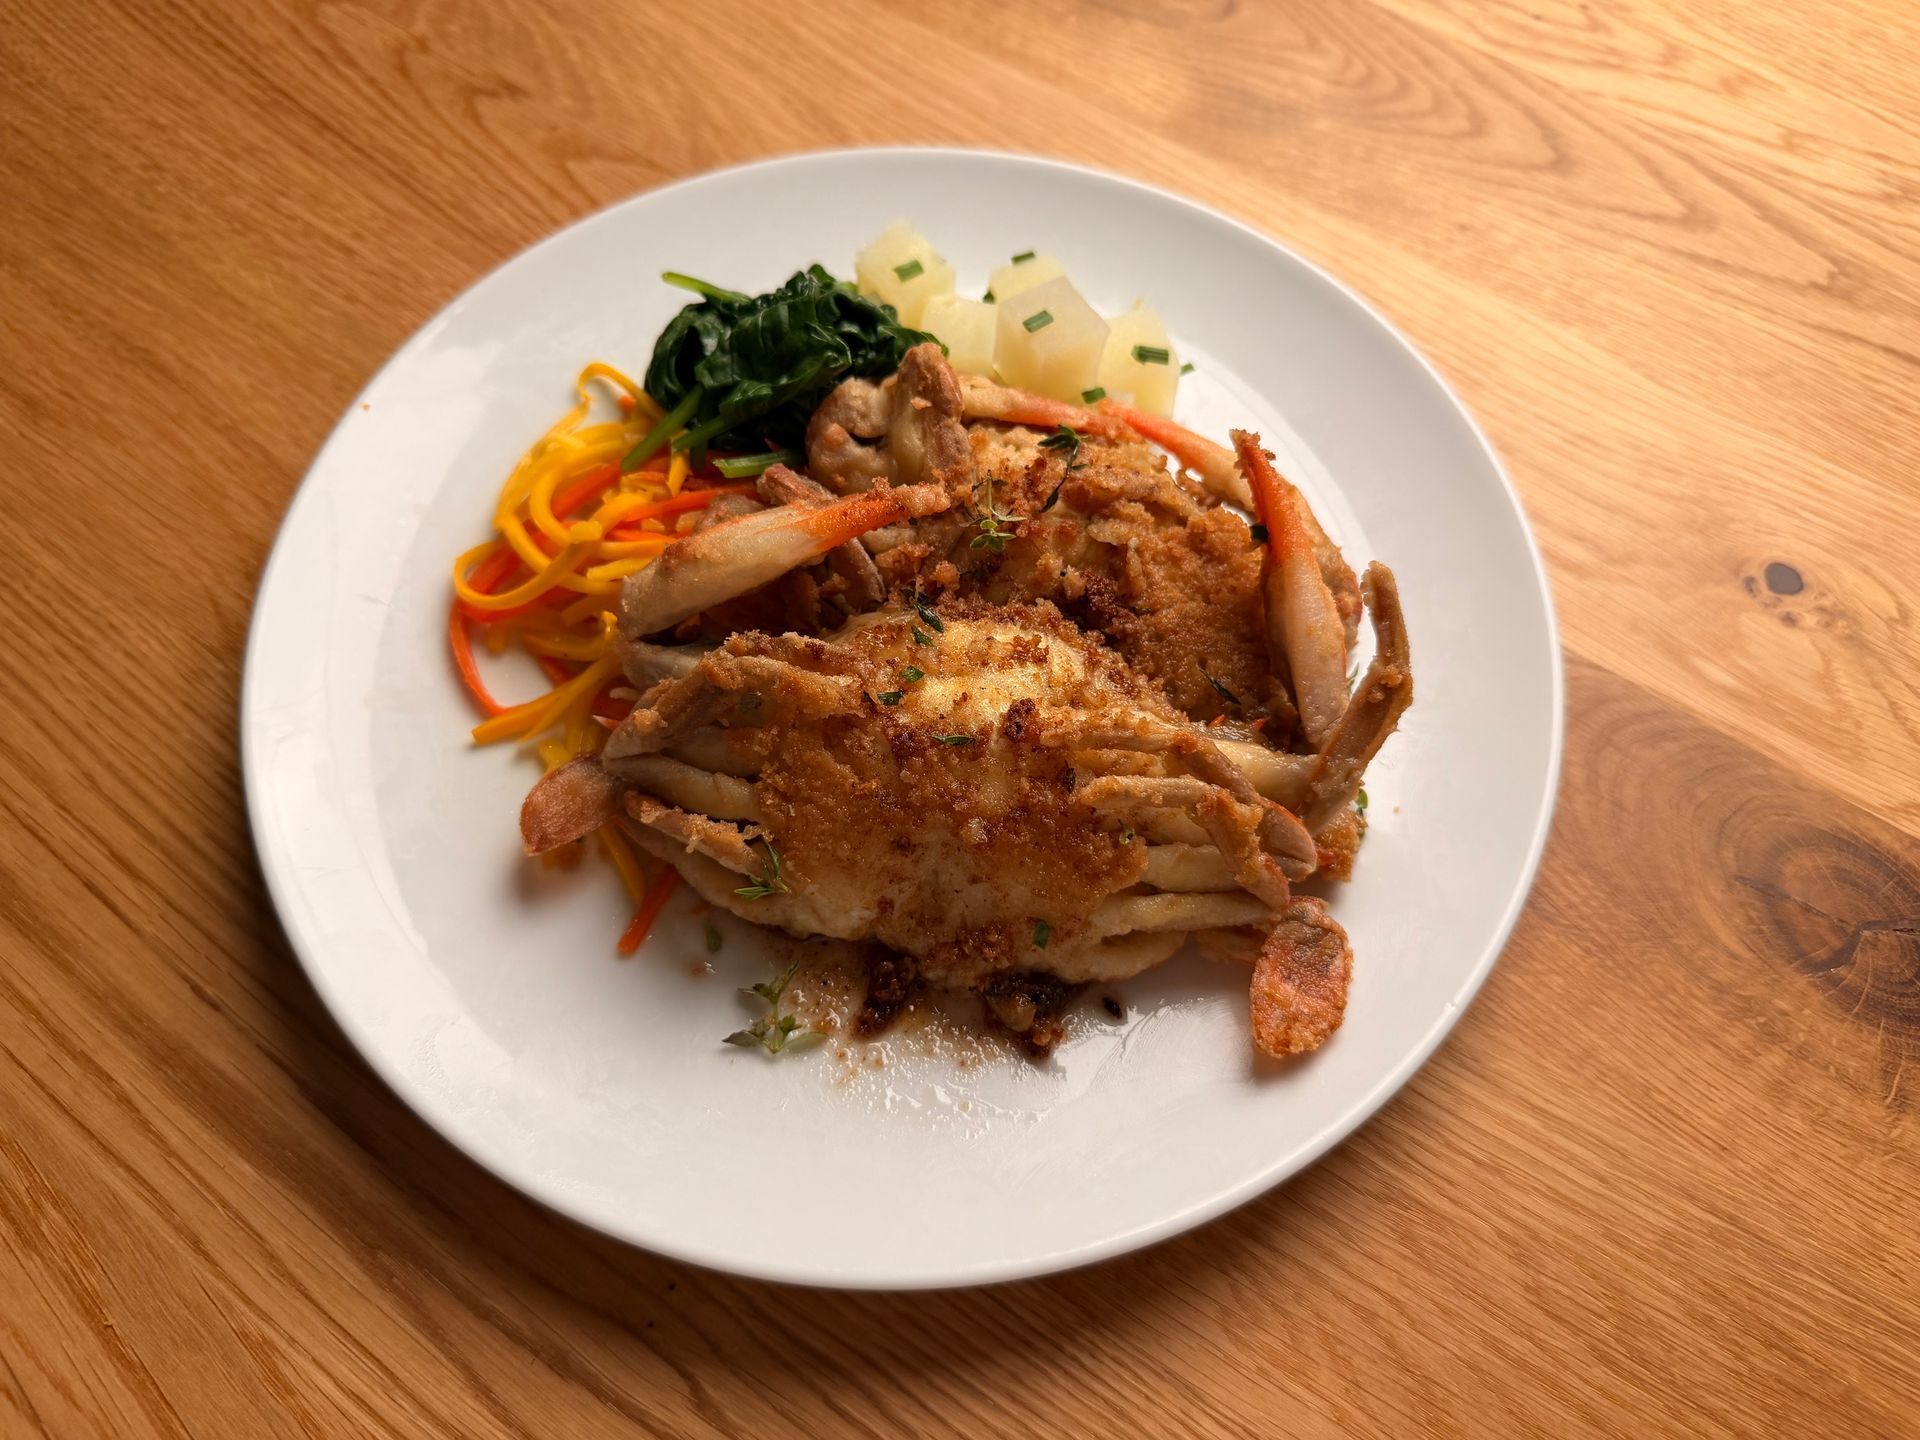
Chef Tom's Cooking Class Minute: Week 8 Soft Shell Crabs-What’s Your Favorite Way to Eat Them?
By Tom Griffiths • October 1, 2026
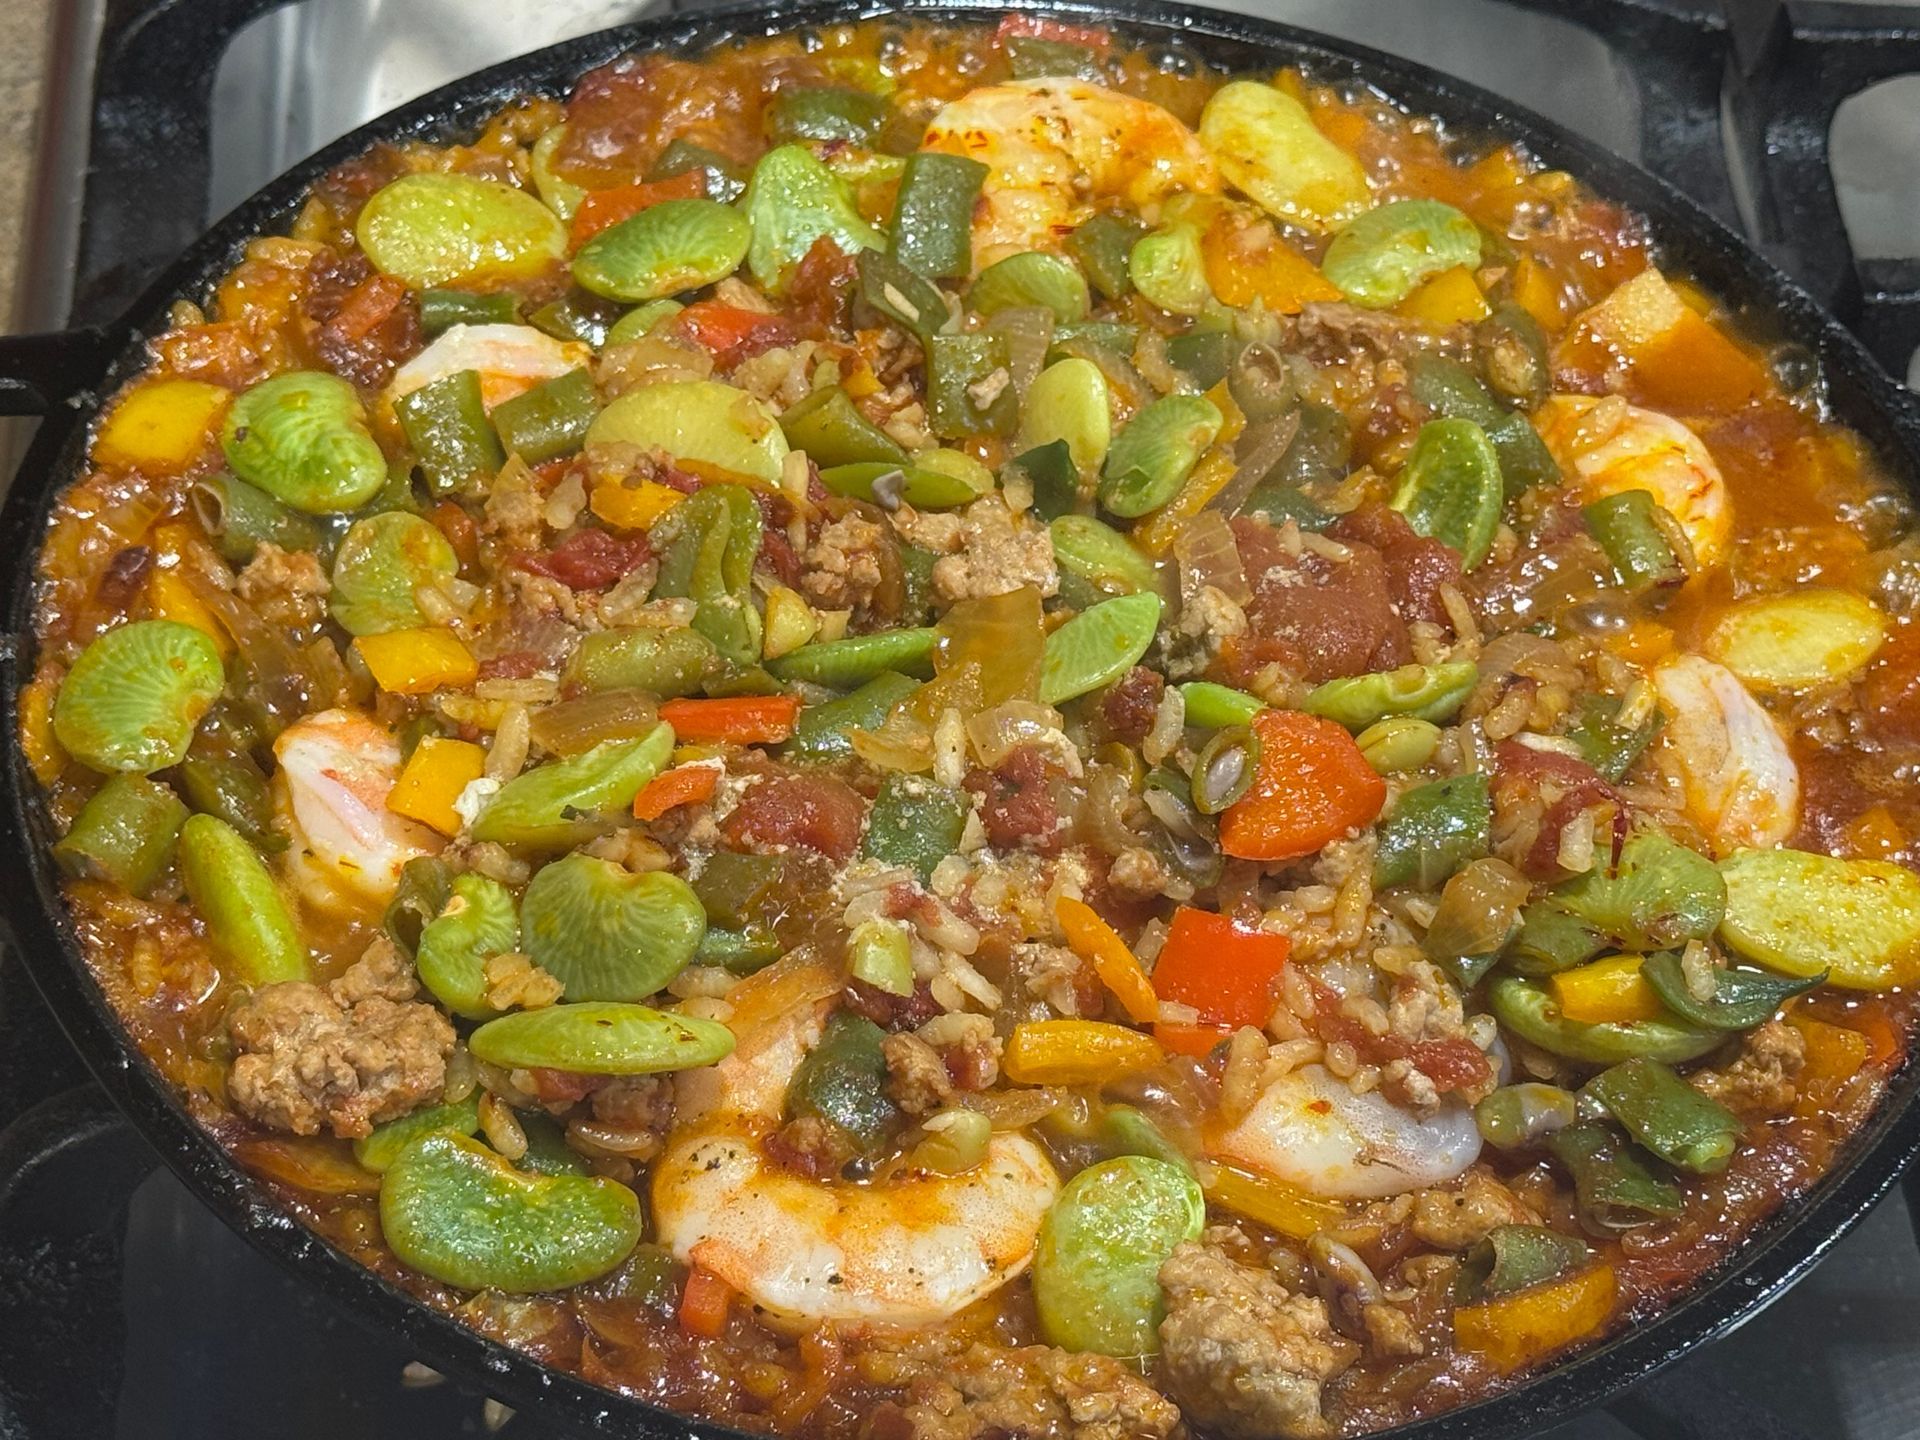
Chef Tom's Cooking Class Minute: Week 7 Fava Beans
By Tom Griffiths • September 4, 2026
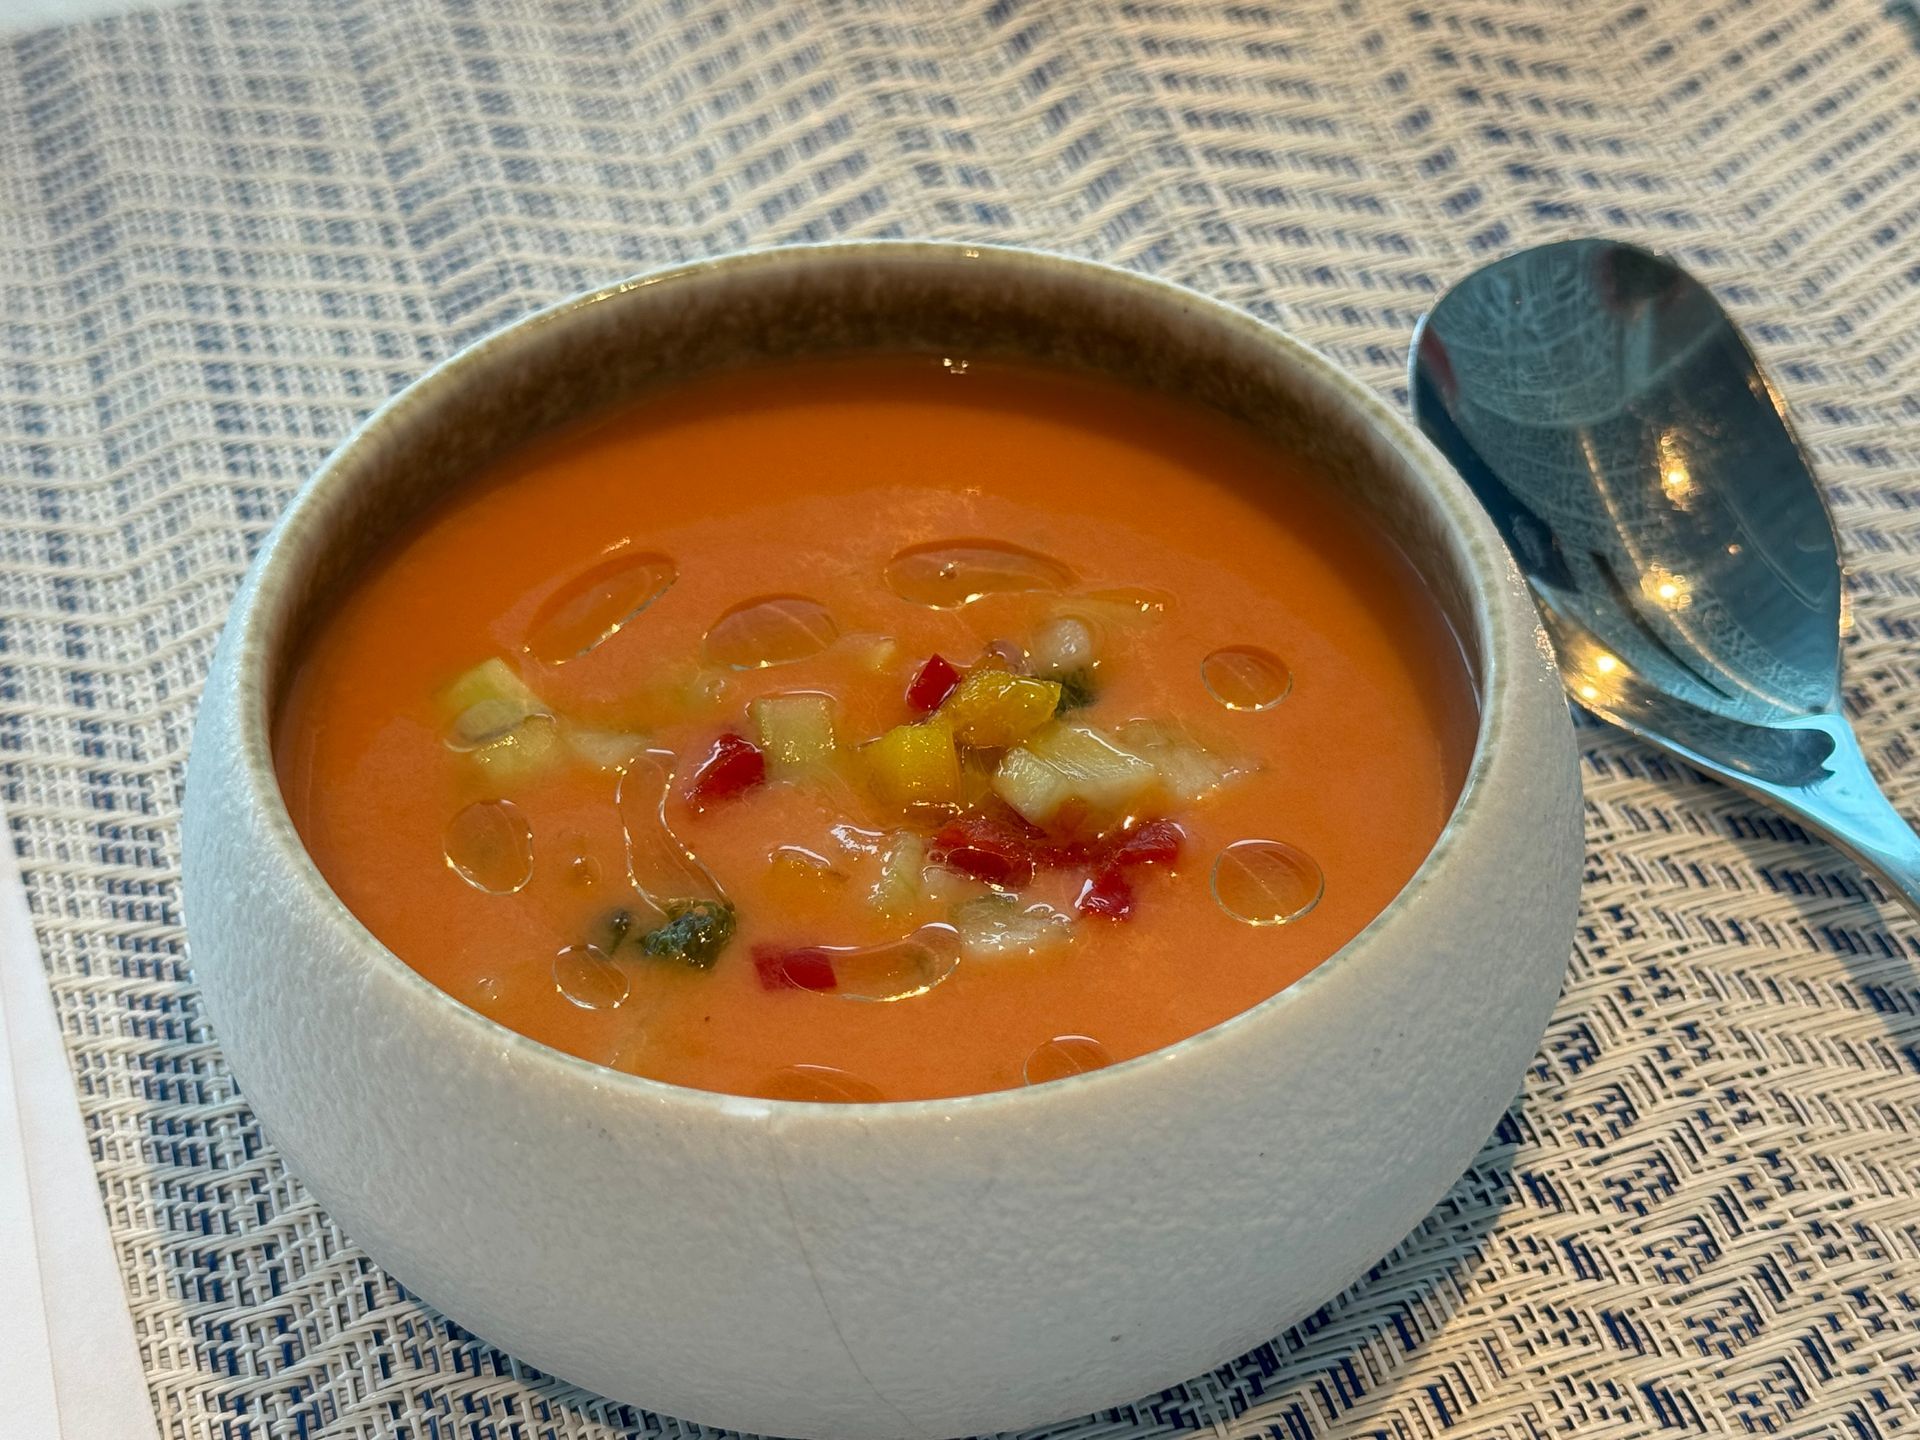
Chef Tom's Cooking Class Minute: Week 6 Gazpacho & Summer Tomatoes
By Tom Griffiths • September 4, 2026
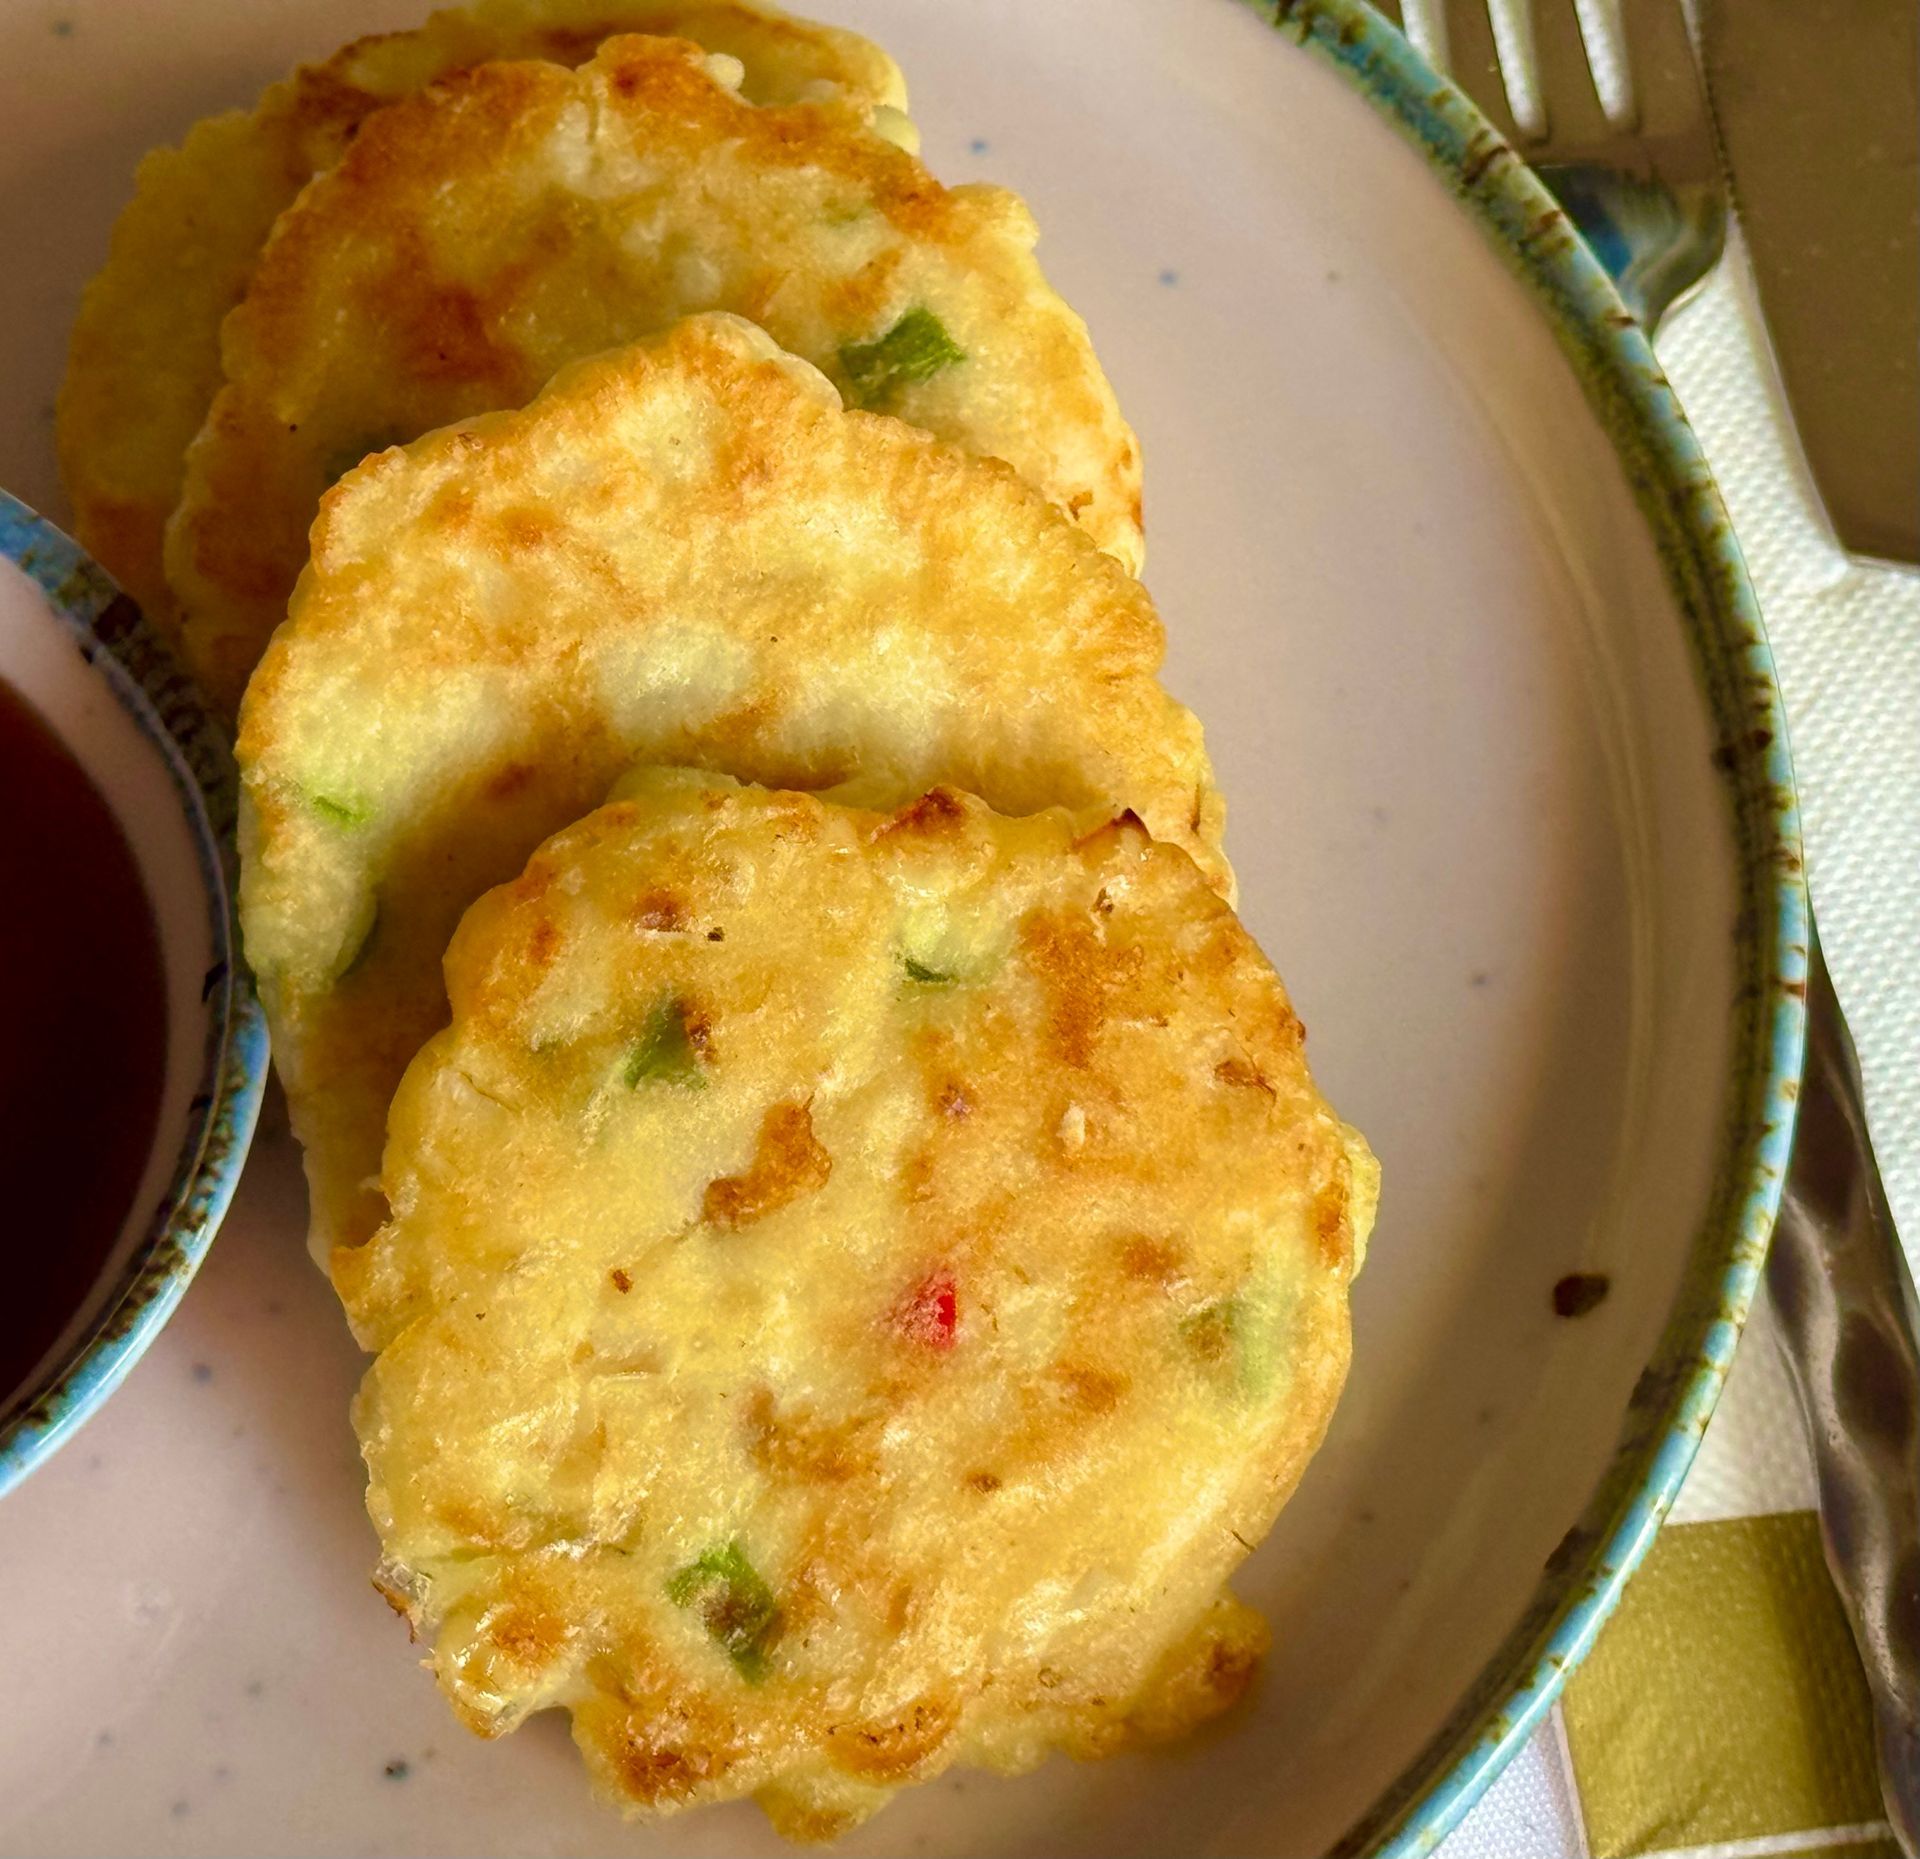
Chef Tom's Cooking Class Minute: Week 5 Summer Corn: Soup, Grill, Roast or Fritters?